This week’s blog was so much fun to research, explore, and create. My assignment was to find a website or an app for the purpose of creating a book. It is important for educators to find an appropriate tool to meet the needs of their students. Educators should have some fun and play around with the website and app to discover all the features it offers. I had a lot of fun using Storybird as my tools for digital storytelling. Storybird is a digital storytelling website that allows teachers and students to create ebooks. I will share the process I did to create my very first Storybird ebook.

The first thing I did was sign up for a Storybird account using my Google account (or you can create a Storybird account). There are three options to choose from to sign up for an account: Regular user or Educator/Teacher or Student. I signed up as an educator/teacher then was prompted to create a class by entering the name of my class and the grade level I teach (kindergarten/preschool). The next step was going through the tutorial steps which are beneficial to look at as they show you how different features work. The site provides a few examples of completed books in the location where your class roster will be listed. The next step the site suggests for you to try out the same tools your students will be using for their projects. Then you can add your student’s name or click the bubble for your student’s to create their own accounts. If students are creating their own accounts you will be issued a class access code for students to use.
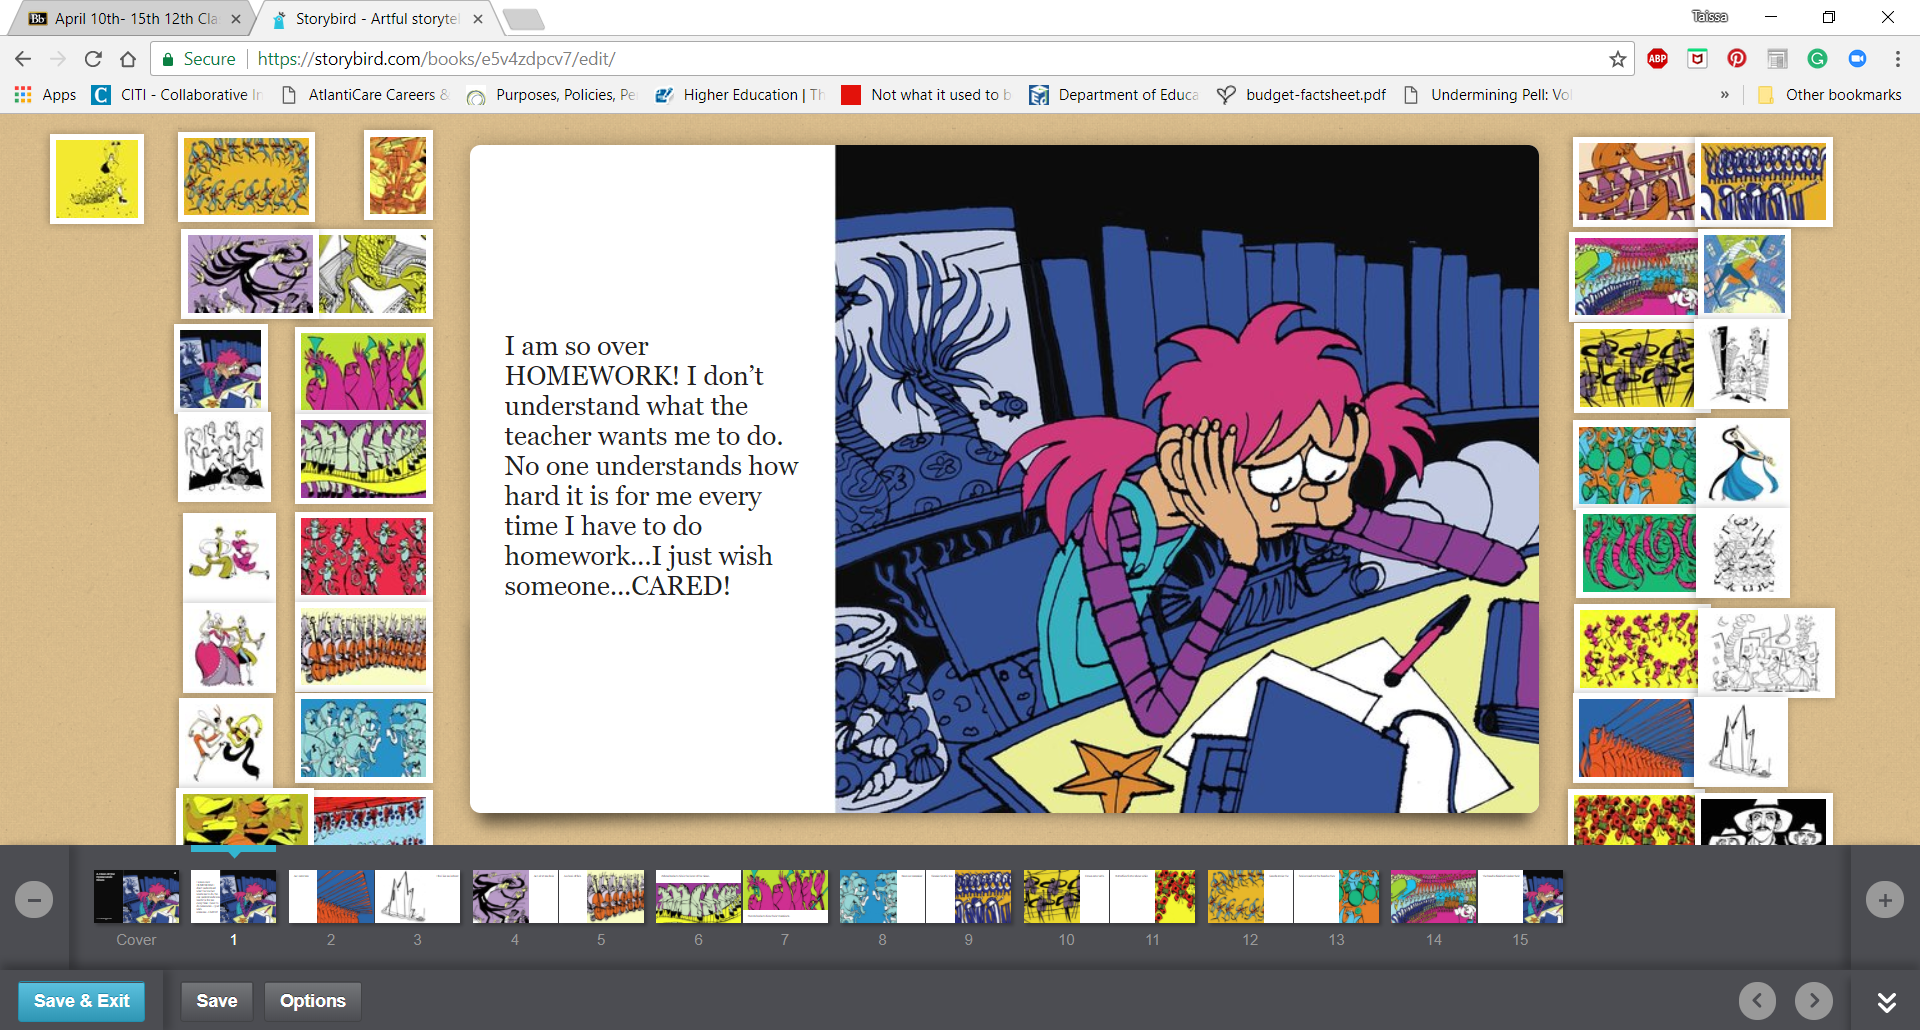
Since this is my assignment I did not have to put any student information, so I started to have fun! I clicked the create button at the top left side of my screen and it opens up to a screen filled with beautiful illustrations. Some are vibrant colorful images while others are black and white; no matter which you prefer your book will come to life! There is a how-to guide which will walk you through the process of creating your book, however, I like to explore so I just dove right in and started to create my book. I looked through a ton of illustrations and found the perfect image to how I feel doing homework as a student in college.

I clicked on this image it opened up to a screen with a storyboard surrounded by a collection of images to use throughout your story. At the bottom of the screen, you will have space where your pages will load for you to see the progression of your story. To add images to your book simply click on the image a drop in on the page and it will automatically load. There are a few different ways you can place your image: full page, half page (left or right), or 3/4th of a page (left/right. top/bottom). After you have your picture in the desired location you can begin adding text in the blank space that is provided. You can add more pages to build my book has fifteen pages (I am not sure the page limit). It allows you to delete unwanted pages, add a collaborator and save to finish or edit at a later time. Your work automatically saves as you create your book, for those of us who want to make sure it is saved there is a save button right underneath your completed pages. The image below is a screenshot of my storyboard as I was creating my book.
Storybird has so many features to for students and educators/teachers to use, however, for I did not explore the website as a regular user since this was a class assignment I used student and educator/teacher accounts. I encourage everyone to sign up for a Storybird account whether as an educator/teacher, student, or just a regular user and start creating adventures!
Here is my book I created on Storybird….enjoy!